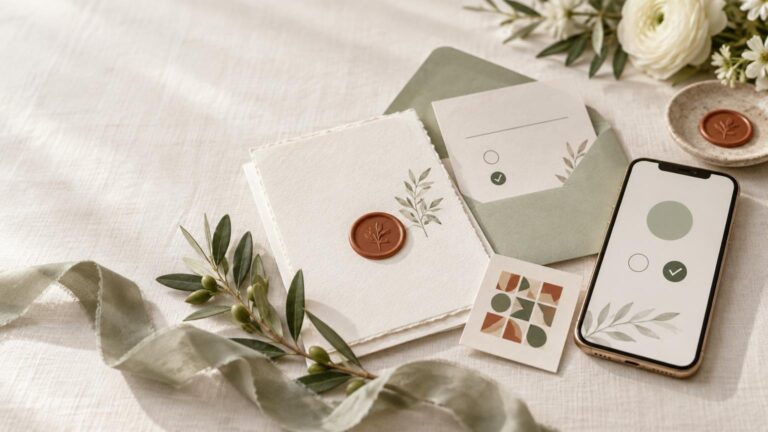
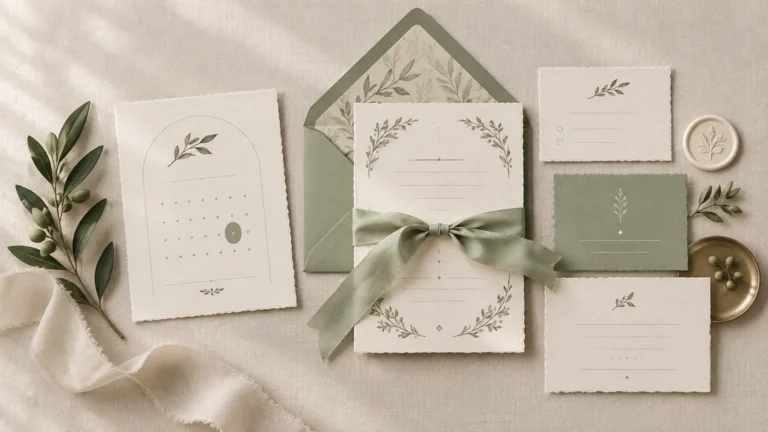
TLDR: A practical wedding invitation suite checklist starts with four things: the invitation, an outer envelope, a clear RSVP method and somewhere to place necessary logistics. That last function can be handled by a details card, wedding website or both. Everything else should earn its place by improving organization, guest experience or the visual impact you value.
You do not need every matching card offered in a stationery collection. Most couples can build an effective suite around one strong invitation and a simple digital or printed information system. Add reception, travel or itinerary cards only when guests need those instructions in hand. Treat liners, wraps and wax seals as aesthetic upgrades rather than automatic requirements.
The essential wedding invitation suite checklist
| Piece | Priority | When it earns its cost | Simpler alternative |
|---|---|---|---|
| Main invitation | Essential | It gives guests the event, date, time and location. | None; this is the central piece. |
| Outer envelope | Essential for mailed suites | It protects the contents and carries the delivery address and postage. | A digital invitation for guests who do not require paper. |
| RSVP method | Essential | It gives every invited household a clear response process and deadline. | Online RSVP instead of a reply card and return envelope. |
| Details card or website | As needed | It handles directions, accommodations, transportation, dress guidance or event-specific instructions. | A short printed website URL on the invitation. |
| Reply card and return envelope | Optional | They help guests who prefer or need to respond by mail. | Online RSVP with a phone or email fallback. |
| Inner envelope | Optional | It can clarify exactly who is invited or preserve a traditional presentation. | Put guest names clearly on the outer envelope and in the RSVP system. |
| Belly band, wrap or folder | Optional | It organizes several enclosures and creates a layered presentation. | Careful stacking or a single details card. |
| Envelope liner | Decorative | It adds color or pattern at the moment the envelope opens. | Use color on the invitation or envelope instead. |
| Reception, travel or itinerary card | Situational | It separates substantial instructions for complex or multi-event weddings. | Consolidate information on one details card or website. |
The minimum suite is therefore not a fixed number of cards. It is a communication system. A local ceremony and reception at one venue may need only an invitation with an RSVP URL. A destination wedding with shuttles, room blocks and several hosted events may justify multiple enclosures.
What belongs on the main invitation?
Keep the invitation focused on the information guests need to recognize and attend the primary event. Include the couple’s names, the wedding date, the start time and the ceremony location. Add a short reception line when it is helpful, plus a direct RSVP instruction and deadline.
Avoid shrinking the type to accommodate hotel policies, transportation schedules, registry information and lengthy dress descriptions. Those details are easier to update and read on a details card or website. If the reception takes place elsewhere, identify its location clearly rather than making guests search for it.
Use a separate enclosure when an instruction could affect whether someone arrives successfully. Examples include a remote entrance, mandatory shuttle, limited parking, identification requirement or adults-only event structure. A website is useful for information that may change, but the printed suite should still direct guests to it unmistakably.
Choose a printed, digital or hybrid RSVP system
A mailed reply card offers a familiar, tangible process. It is useful for guest lists that include people who are uncomfortable responding online, but it adds printing, return-envelope and postage costs. It also requires someone to reconcile handwritten names and meal selections.
Online RSVP is efficient when you want searchable responses, conditional questions or quick updates. Platform capabilities are not universal. For example, Joy documents guest-list restrictions, exact-name matching, deadlines, grace periods and password protection for its own RSVP system. Confirm the equivalent settings, privacy controls and export options with whichever provider you select.
A hybrid system is often the most inclusive choice: make online response the default while allowing selected guests to reply by card, phone or email. Keep one master guest list so responses from different channels do not become separate records. For a deeper comparison, see digital RSVP versus reply card options.
Do not make the QR code the only route
A QR code can reduce typing, but it should be paired with a short written URL. Test both routes on different phones before printing, and send the code to the final published RSVP page rather than a temporary design preview. Use clear language such as “Please respond by June 1” instead of expecting guests to infer the code’s purpose.
For the RSVP page itself, prioritize strong contrast, readable text, keyboard-friendly controls and plainly worded questions. The Web Content Accessibility Guidelines specify a minimum contrast ratio of 4.5:1 for normal text and 3:1 for large text at Level AA, alongside requirements concerning text resizing and alternatives for non-text content.
When optional presentation pieces are worthwhile
An optional piece earns its cost when it performs a useful function or creates a design moment you intentionally value. A belly band can hold a thick stack in sequence, but it is unnecessary around one invitation and one card. A folder may help organize a travel-heavy suite, although it also adds bulk.
- Choose an envelope liner when the opening experience and added color matter to you. It does not communicate additional information.
- Use an inner envelope when traditional presentation or household naming is important. It is not required for delivery.
- Add vellum or another wrap for layering and texture, not because an invitation needs protection inside its mailing envelope.
- Use a reception card when the reception is at a different site or limited to a different guest group.
- Use a travel or itinerary card when guests must act on the information before arriving. Otherwise, place it online.
- Skip a separate registry insert in favor of directing guests to the wedding website.
- Reserve wax seals and dimensional embellishments for suites whose final mailing format and processing have been checked.
If paper and print quality matter more than extra layers, direct the budget toward the invitation itself. Compare stock, color reproduction, proofing, finishing and process compatibility before ordering. A specialist offering custom invitation printing can be a practical next step once the final piece count and artwork are settled. The guide to choosing invitation paper, size and finish can also help you prepare those specifications.
Save-the-dates, menus and programs are separate decisions
A save-the-date comes before the invitation suite. It gives guests advance notice but does not replace the formal invitation or collect the final response unless you have deliberately designed a different workflow. It becomes more valuable when guests need to arrange travel, lodging or time away from work. For a simple local wedding, it may be replaced by an early digital notice.
Menus, ceremony programs, seating materials and bar signs are day-of stationery, not mailed invitation enclosures. They can repeat the suite’s typography, color and illustration without copying its layout exactly. Repetition creates cohesion; changing the hierarchy and scale keeps the event from looking mechanically matched.
Not every day-of item needs one copy per guest. A menu may be shared per couple or displayed at each table if guests do not need to make individual selections. Programs may be handed out per couple or household. Test whether shared pieces remain easy to reach and read in the actual table or ceremony layout.
Plan timing backward from the wedding
Emily Post gives six to eight weeks before the wedding as a conventional invitation-mailing benchmark. That is a starting point rather than a complete production schedule. Build in time for design approval, a hard proof if needed, printing, delivery to you, assembly, postage verification and correction of any damaged or misprinted pieces.
Set the RSVP deadline far enough ahead to meet your venue, caterer and seating-plan deadlines, with additional time to contact nonresponders. Destination events and complicated travel plans may call for an earlier communication sequence. Use the full wedding invitation timeline to coordinate save-the-dates, invitations and reminders.
Do not assume postal delivery will land on a precise date. USPS describes First-Class Mail delivery as an estimate of one to five business days, excluding Sundays and postal holidays, and not as delivery guaranteed by a specified time. Allow a buffer on both the outbound invitation and mailed-response sides.
Check postage with a finished sample
Paper dimensions alone do not determine postage. Assemble one suite with every enclosure, seal it in the final envelope, and have that exact sample weighed and measured before buying stamps. USPS limits letter-size mail to 11½ by 6⅛ inches and ¼ inch thick; pieces beyond letter dimensions or thickness may be treated as large envelopes. Square and unusually oriented envelopes can also require additional postage. Review the USPS domestic mailpiece guidance and confirm current prices rather than relying on an old stationery budget.
The final sample matters because liners, stacked cards, folds, ribbon, thick stock and seals can change weight, thickness, flexibility or surface uniformity. Keep additional envelopes for addressing errors and damage, and mail a test to yourself if your schedule permits.
Final pre-print and assembly checklist
- Confirm every name, date, start time, address and RSVP deadline against the final event plan.
- Check that the ceremony and reception locations are unambiguous.
- Test the written website URL and QR code from the final proof.
- Complete the RSVP form as different guest types, including households with meal selections or invited children.
- Proof the suite at actual size; do not judge small type only from a zoomed-in screen.
- Ask the printer about bleed, safe areas, folds, stock thickness, print-process compatibility and finishing requirements.
- Request a physical proof when paper color, impression, foil, folds or precise color matching materially affects the design.
- Verify assembly order so the invitation is visually dominant and instructions are easy to find.
- Prepare one fully assembled and sealed sample for postal measurement and weighing.
- Order spare invitations and envelopes for late additions, returned mail and addressing mistakes.
- Confirm the printer’s turnaround, shipping estimate, proof approval process and reprint policy before paying.
- Read all pieces in varied lighting and ask someone unfamiliar with the plan to find the date, venue and RSVP route.
The best suite is not the one with the most layers. It is the one that makes the event feel considered while giving guests a clear path from opening the envelope to arriving at the right place. Finalize the information system first, choose the RSVP workflow second, and add decorative pieces only after the essential experience works.